
These have been done for quite awhile. Again, my lack of picture uploading is to blame. Actually, I’d like to pass the blame along to my prehistoric creature of a laptop that takes 45 minutes to load a page.
Anyways, if you follow me on Instagram (<– if you don’t already, do it!) then you already saw the before and after…
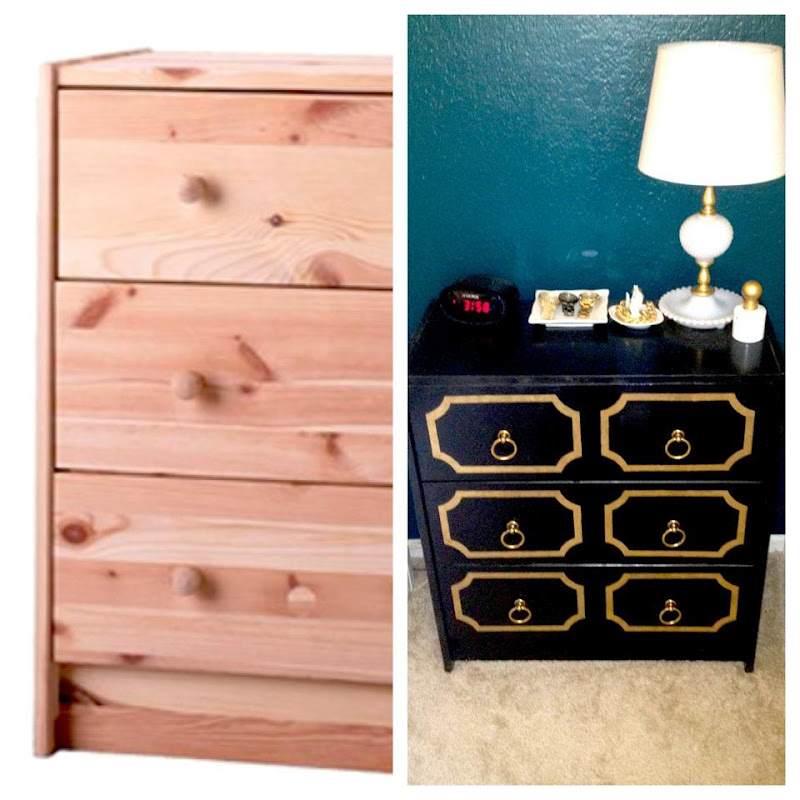
We started with an IKEA Rast dresser, which costs $34.99.
You will also need:
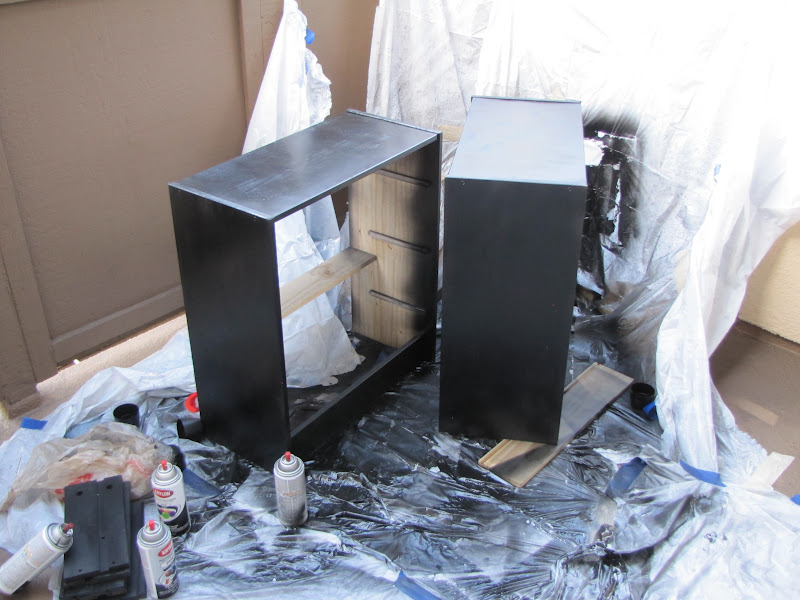
- About 4 or 5 cans of Krylon gloss black spray paint (no joke)
- 2 or 3 cans of primer (I’d use black.)
- Stencil sheet
- Exacto knife
- Krylon gold leaf paint pen
- Drawer pulls. (I could only find them here. Mine are medium Burnished Bronze.)
- Stencil. I found one here.
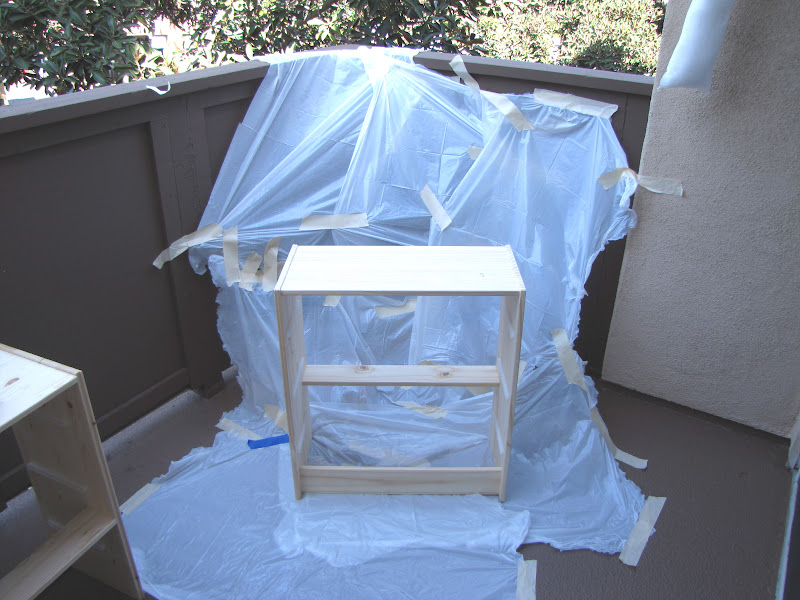
Please, when spraypainting, don’t do what I did. ^ Buy a tarp. They are around $3 and so much easier.
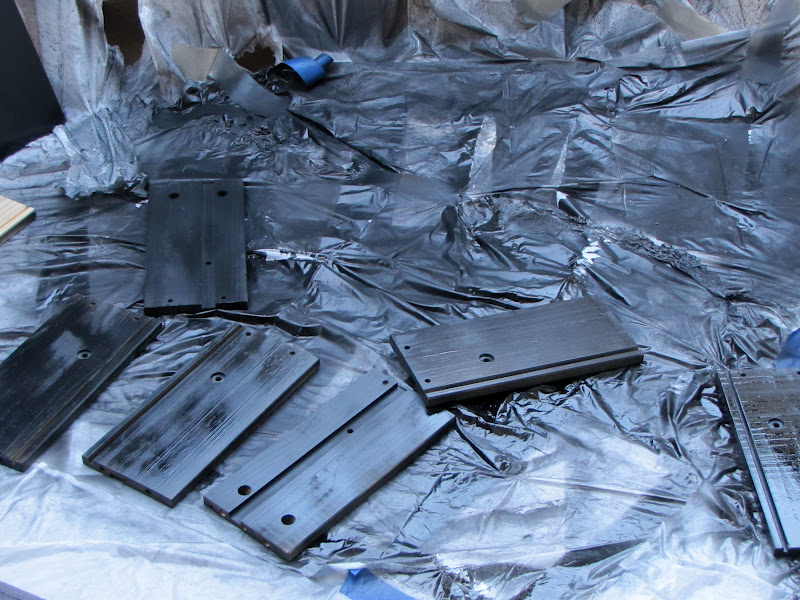
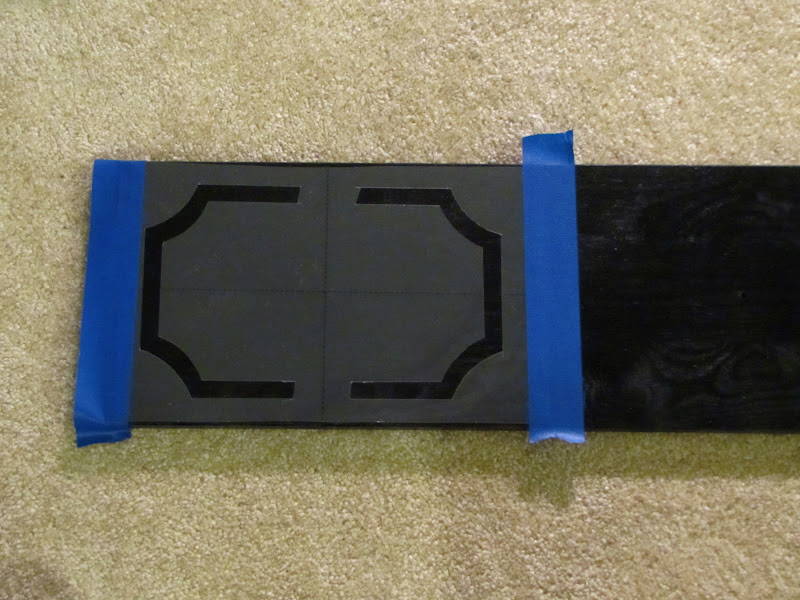
The drawers we spray painted before they were put together.
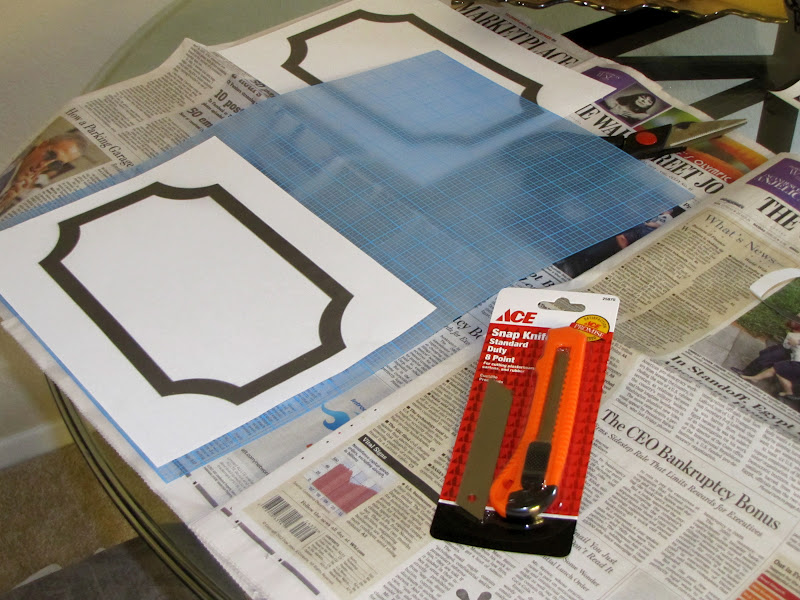
Once you have printed your stencil, tape it to the stencil paper, and use the exacto knife to cut it out.
This may be an obvious tip, but be sure to leave space in between that you don’t cut out so the stencil stays in place on either side.
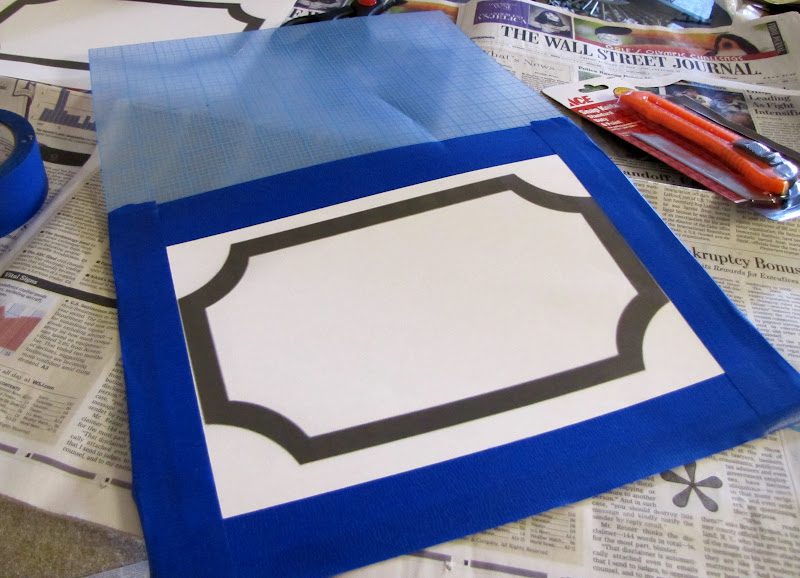
Tape it on, and you’re ready to gold leaf.
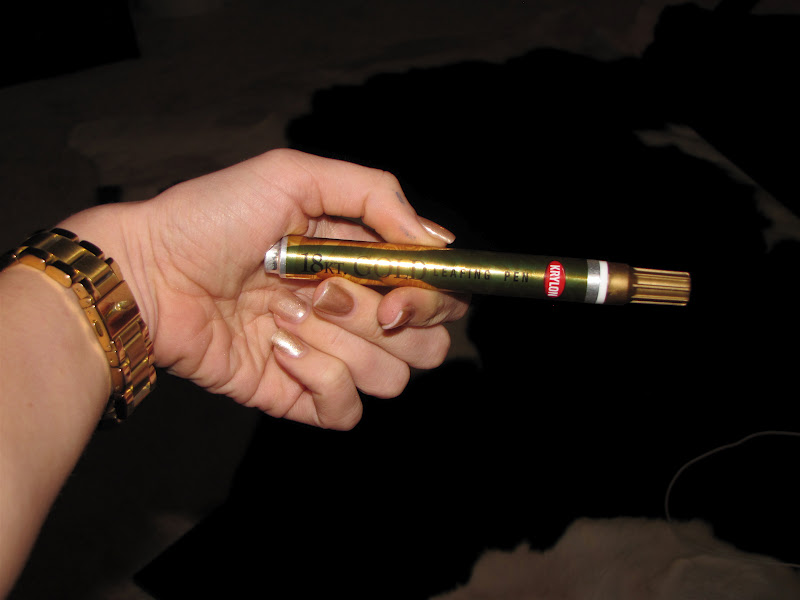
You can find this pen at your local craft store for around $6.99. I got mine at Joann’s and used a 40% off one item coupon so it was much cheaper than that. AND it lasted for both side tables, the lamps I re-furbished, and there is still plenty of life left in it.
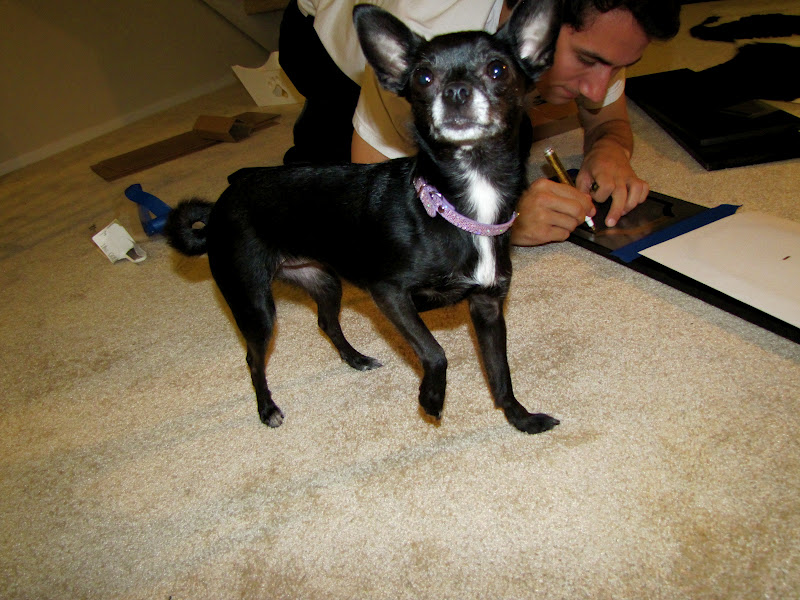
Z being the camera hog she is.
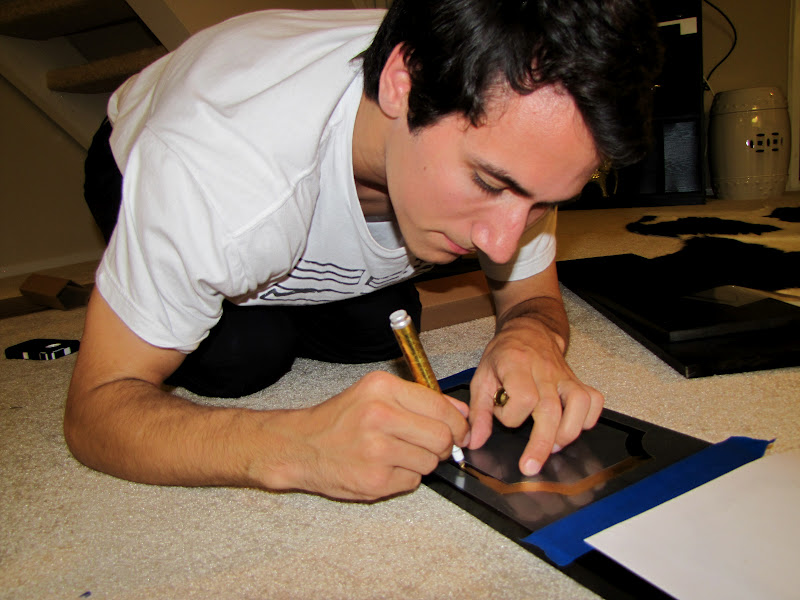
My sweet boy helping 🙂
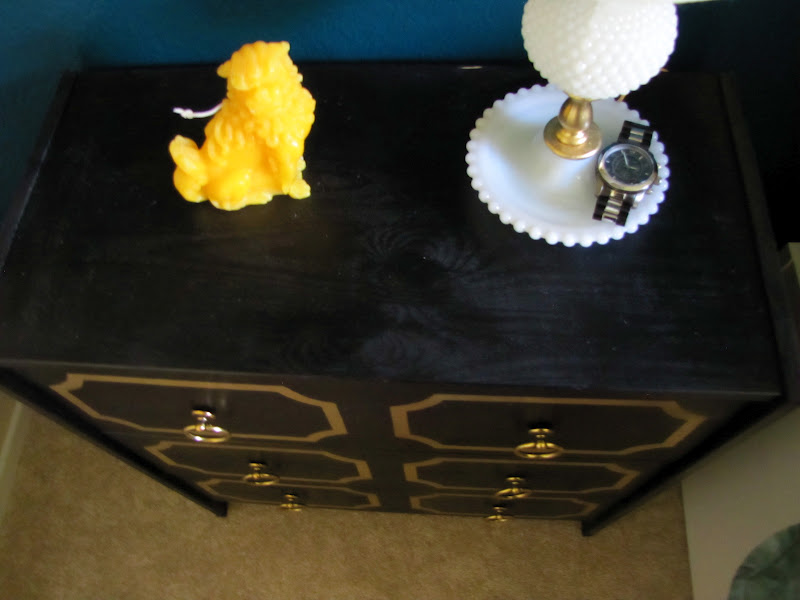
Once you paint the pattern on, you can put the drawers together and add your drawer pulls.
J’s side.
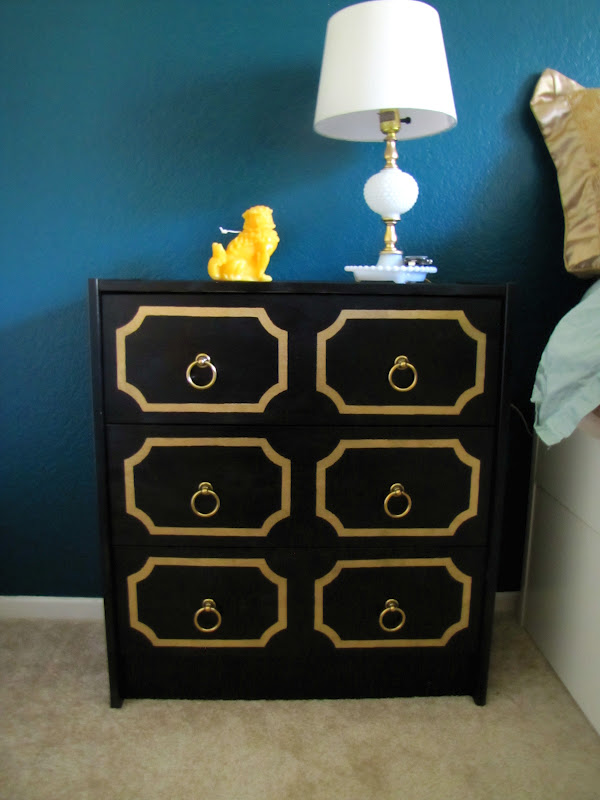
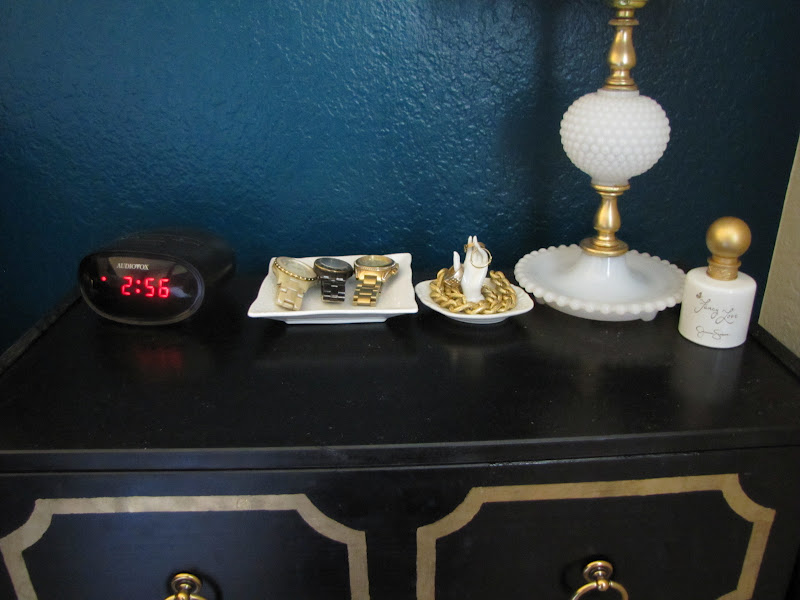
My side.
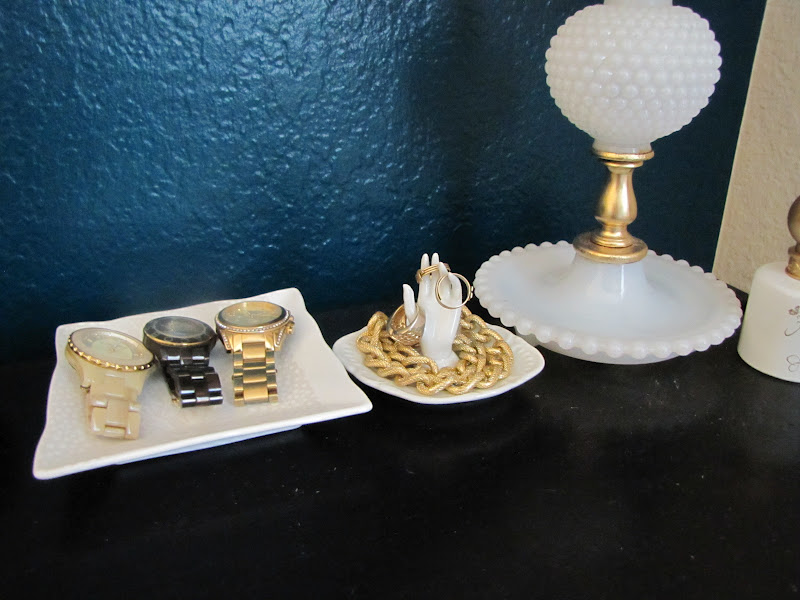
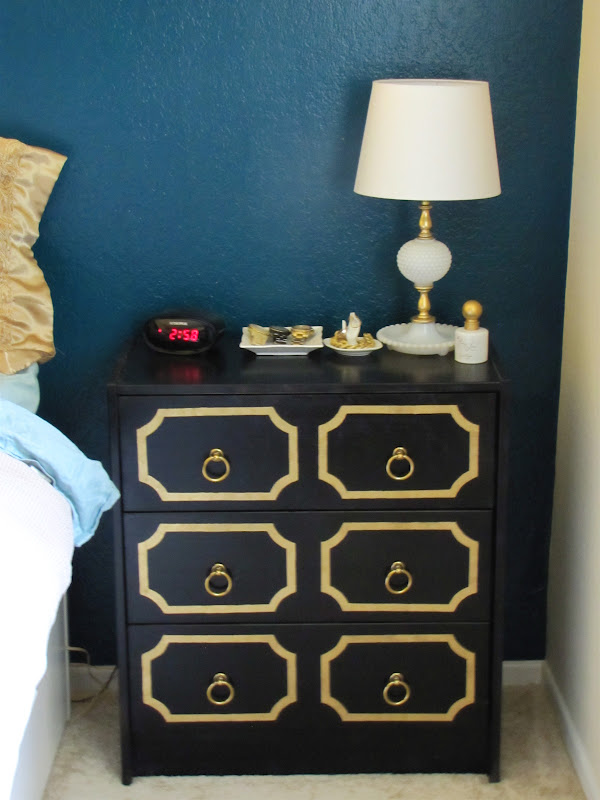
I love them. They are the perfect size and now home to my jewelry and pajamas.
Happy Monday everyone! I am so thrilled to have half of Tuesday and all of Wednesday off of work! Hope you all have some days off this week as well!
xoxo,
H

love this! x
You did an awesome job! They look great!
This is amazing! You did a stellar job.
Awesome! These are gorgeous,and definitely look way more expensive than they were. Keeping this one in mind! 🙂
this is beautiful… i am so impressed!! want to make some for me?? 😉
xoamy
http://www.cupcakesncouture.com
Wow that looks great!
They turned out AMAZING! Great Job.
wow… that looks great! love the black and gold
Madebygirl.blogspot.com
MadeByGirl.com
it is PERFECT
oh my gosh so perfect!!! I would love to try something like this soon.
Love it! Great job.
Hi Hannah! Came over to say hi from {what you fancy}! Great job on the Rast… I need to tackle one of those someday, there would definitely be gold involved 🙂
~el
Love these! They turned out so good!
this is amazing! you're so creative!!
Wow- this looks amazing1 Loving all the DIY you're doing lately!
xx
holly foxen wells
http://www.threelayercake.blogspot.com
they looks amazing!!!! great DIY!
http://itsthelittlethingsblog.blogspot.com/
I am in love with this, it turned out so pretty. What is the paint color on that wall? It is gorgeous!
Love them! Way to go on the stencil! And love the black and gold
Looks absolutely amazing! You've inspired me! Thanks for stopping by my blog! Come back and follow! I'm your newest! Xo
Iambornlippy.blogspot.com
Such a great job! I've been looking for a small, well priced dresser to makeover!
xo
Tiffany
tiffanyleighinteriordesign.blogspot.com
Oh my gosh – this is amazing! It looks so fantastic!
♡ Lexi
FASHION: Glitter & Pearls
WEDDINGS: Glitter Weddings
Amazing!
I am obsessed with this DIY! I love an Ikea hack. Great blog 🙂
Best, Lindsey
http://teachchic.blogspot.com
wow! im impressed! they look amazing!
What a great idea. Love it!
xoxo
omg i am in love with your dresser! <3 you're so creative :))
My Fashion Blog: Strawberriespls | Shop My Closet
These look awesome!! I am considering a DIY on mine so thanks for sharing!
XX,
Dominique @ http://comfycozycouture.blogspot.com
gorgeous! i'm so impressed. also love your jewelry holders! xo J
Very nicely done! I'm an instant fan of your blog 🙂
xo
Quiet Luxury
they turned out so great! thanks for the tutorial!
You are seriously amazing. I wish I had even half of your craftiness. My house would look 1 million times better. They look awesome!
So glad to see such stunning transformations! Pinning this!
http://www.stardust-decorstyle.blogspot.com
These are awesome! I've been searching for a great deal on CL for matching dressers to use for nightstands and coming up empty. I think I'll switch gears and consider these instead! Thanks for sharing-came over from Better After.
wow perfect, and i was just at ikea!!
I absolutely love this! It's so chic and expensive! I'll definitely be trying something like this out once I move into my own place.
You are pretty much my DIY hero. These are AMAZING!!!! I'm going to have to try this!
I had to laugh when I saw this! My elderly aunt had the exact same dresser, but white, straight out of the 60's!
jordan shoes
fitflops shoes
kate spade outlet
new balance shoes
cheap jordans
coach outlet online
coach outlet online
vans outlet store
stephen curry basketball shoes
air jordan shoes
polo ralph lauren
abercrombie & fitch
true religion outlet
nmd adidas
fitflops
adidas superstars
michael kors outlet stores
coach factory outlet online
instyler max
coach purses on sale
ralph lauren
jordan pas cher
valentino bags
fitflops sale clearance
valentino
michael kors outlet
coach outlet store
yeezy boost 350 white
armani outlet
cheap ray bans
rolex submariner
coach outlet online
versace sunglasses wholesale
gucci borse
oakley sunglasses outlet
micahel kors
coach outlet online
fitflops
ghd hair dryer
ferragamo outlet
Thanks for sharing the information. It is very useful for my future. keep sharing
Baixar Facebook | whatsapp baixar | Facebook Baixar | Baixar Facebook Gratis
|baixar whatsapp | baixar whatsapp gratis
|Traffic Rider | Traffic Rider Jogo | Traffic Rider Baixar
|Facebook Lite | Baixar Facebook Lite |
8 ball pool tips
8 ball pool guide
8 ball pool hack
8 ball pool hack tool
guide for 8 ball pool
8 ball pool hack
8 ball pool tricks
how to get free coins in 8 ball pool
8 ball pool hack no survey
8 ball pool hack
8 ball pool tips
8 ball pool coins
8 ball pool free coins
tips for 8 ball pool
8 ball pool hack tool
8 ball pool hack apk
8 ball pool guide tool
8 ball pool guides
8 ball pool cheat
8 ball pool
8 ball pool hack
8 ball pool cheats
simcity buildit guide
simcity buildit tips
simcity buildit trick
simcity buildit review
simcity buildit
simcity buildit guide
simcity buildit game
simcity buildit tricks
simcity buildit tips
simcity buildit game
simcity buildit
simcity buildit guide
simcity buildit guide
simcity buildit tips
simcity buildit trick
simcity buildit review
simcity buildit
simcity buildit guide
simcity buildit game
simcity buildit tricks
simcity buildit tips
simcity buildit game
simcity buildit
simcity buildit guide
your blog is amazing bro, really I'm a huge supporter of madden mobile game and I 'm suffureing from deficit of coins, I just needed to know about madden mobile tips or madden mobile guide. anyone of them can be better. have you understand about madden mobile tricks? please discuss here if you realize where I can get madden mobile tips so that I could solve my issue. thanks man and yes you're wonderful.
simcity buildit tips
simcity buildit review
simcity buildit game
simcity buildit
simcity buildit guide
simcity buildit game
simcity buildit guide
simcity buildit tips
simcity buildit free hack
simcity buildit free cash
simcity buildit simcash
simcity buildit game
Hey, I actually adored your view with this matter. I wanted to share something about pixel gun 3d game with you. actually I desired to know the methods to get pixel gun 3d coins. can you describe any means for pixel gun 3d tips which I can get easily online? Truly pixel gun 3d guide is my favorite game and I just wanted to play pixel gun 3d at its complete pace. thanks beforehand.
now a days i am playing pixel gun 3d game and i love it as this is a good shooting game, i am also finding the same pixel gun cheats if you know any pixel gun tips website then plaease refer me and will sure visit the site of pixel gun 3d guide. thanks and yes.. you are awesome.